All communications in Output Messenger are done under SSL by using an internal certificate.
For Browser Client version, we can change the default certificate to our own custom/trusted SSL certificate.
Page Contents
Select Certificate
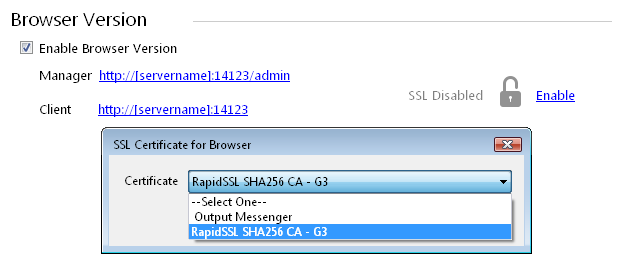
- In Server Manager → Configuration → click Enable SSL for Browser Version.
- In Certificate chooser window, select your preferred certificate & click OK.
- If your certificate was not listed, please follow the below steps.
Import the Personal Certificate in MMC
- Click on Start, then type and choose mmc.exe.
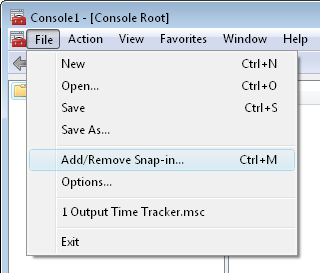
- In the Microsoft Management Console (MMC) window, click File → Add/Remove Snap-in….
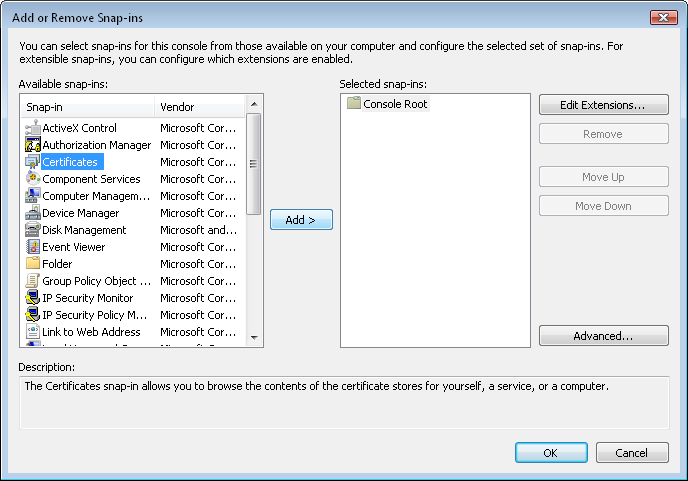
- Click on Certificates Snap-in, at the Add or Remove Snap-ins popup and click Add button.
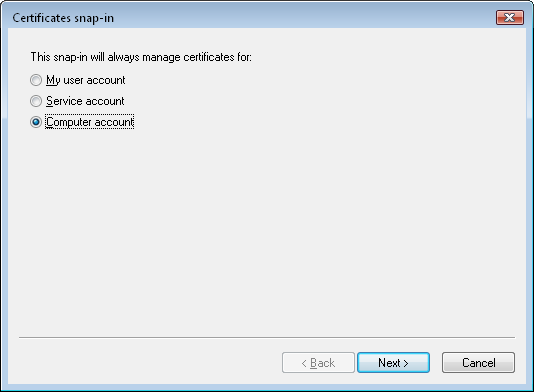
- Choose the Certificate Type as “Computer account” in Certificates snap-in.
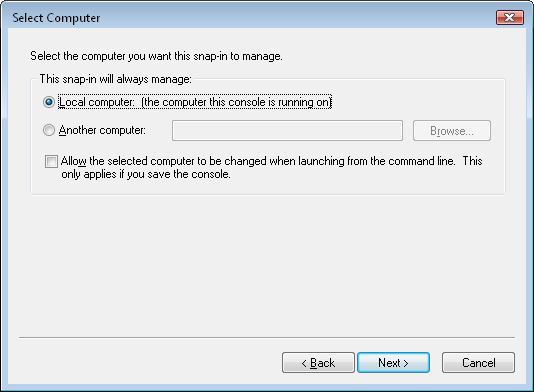
- Select Local Computer in Select Computer popup and click Next then Finish.
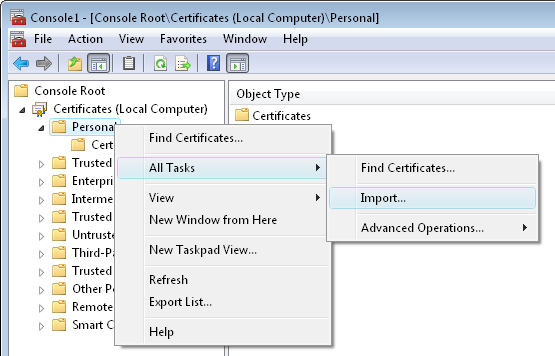
- Right Click on Personal folder. Select All Tasks → Click Import.
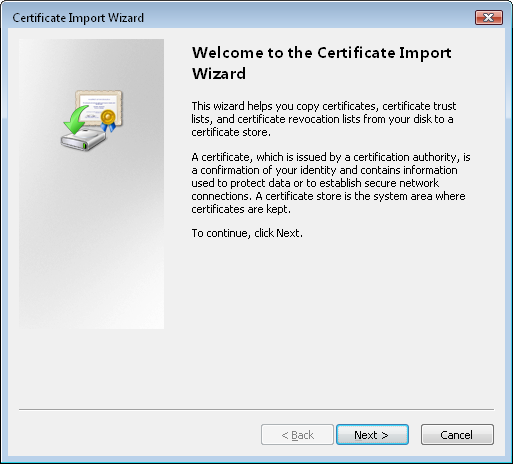
- In the new Certificate Import Wizard popup, Click Next.
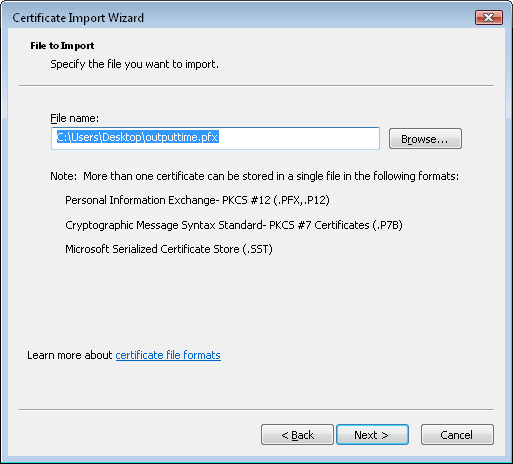
- Browse the .PFX file and click Next.
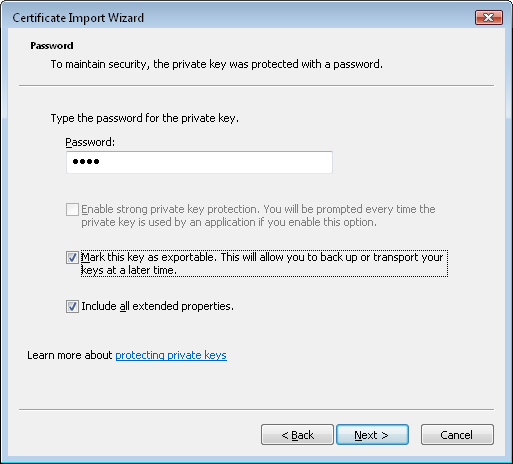
- Provide the password you provided while creating .PFX file. Make sure that the option “Make this key as exportable” is checked, which helps you to export the key pair again and click Next.
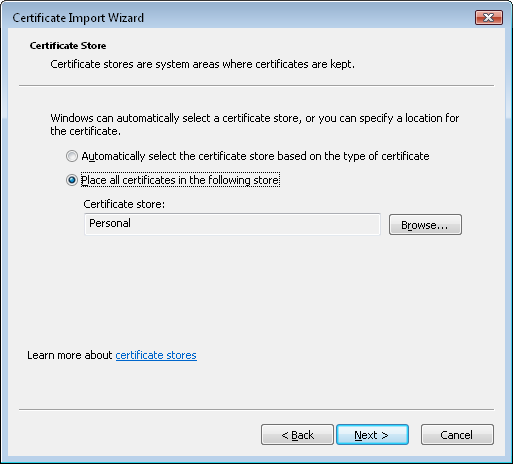
- Choose the Certificate store, where you want to save, since you are using Web Certificate you should choose Personal.
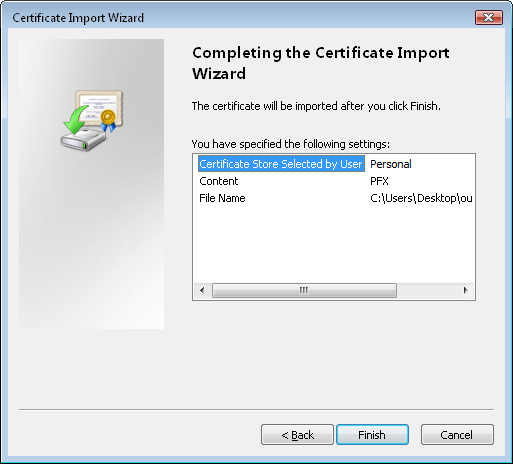
- Check whether the furnished information are correct, and click Finish.
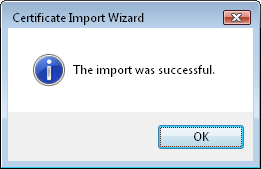
- Then you will get “The import was successful” alert box.
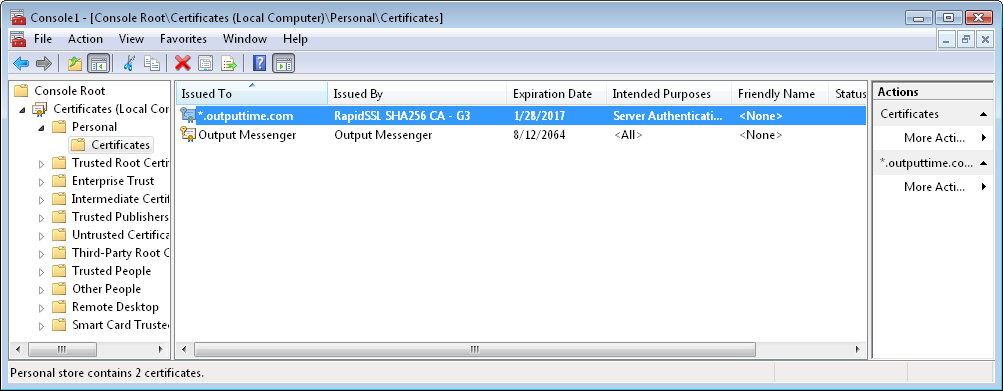
- After Clicking OK, Your certificate will be listed in Certificates list.
Apply your custom SSL Certificate to Output Messenger
- In Server Manager → Configuration → Browser Version → SSL Certificate popup, choose your SSL Certificate and click Save.
- If you have any issue in applying the certificate, try importing certificate again by deleting from personal folder.
