Leave Management helps you to request, manage & approve leaves or time offs directly in Output Messenger.
- Your employees can request for leave or time off right from their Output messenger chat window.
- Leave can be requested specific as Casual or Sick.
- You(Administrator)/Managers can approve the employee’s leave/time off request.
- Get notified when your leave request/time off gets approved/rejected.
- Keep your team notified about your leave/time off.
Page Contents
Administrator/Manager’s Leave Manager
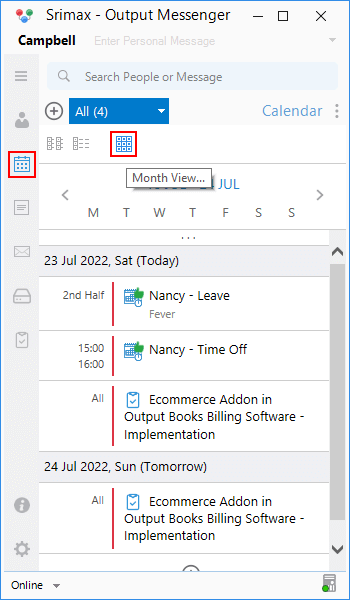
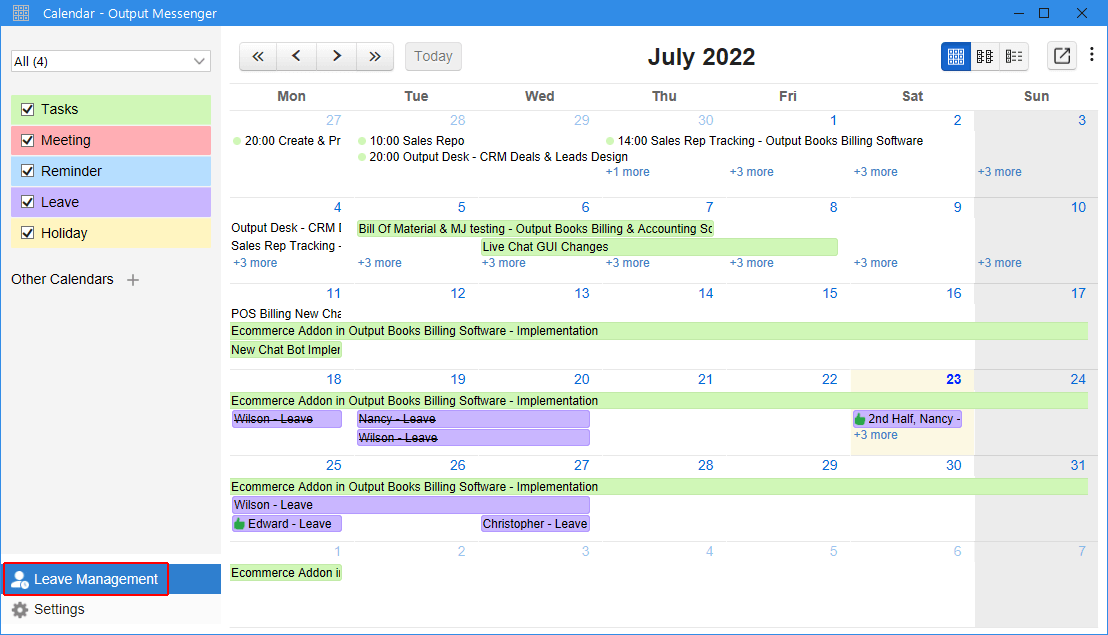
Administrator/Managers can access Leave Manager from Output messenger. To access it, open Calendar, navigate to Month View.
At the left bottom, you can find the “Leave Management” option.
There you can find 4 sessions:
- Leaves to Approve
- Approvers
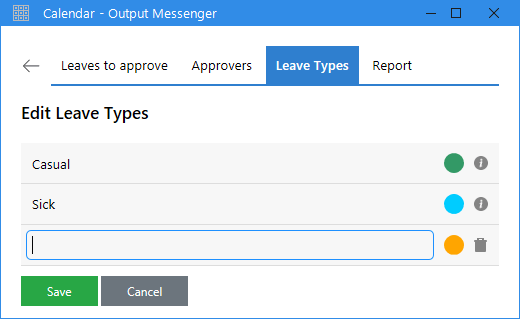
- Leave Types
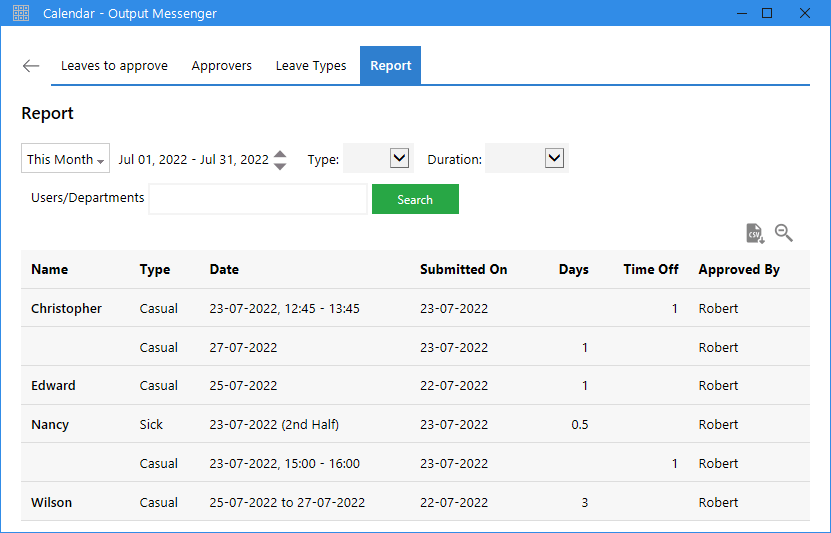
- Report
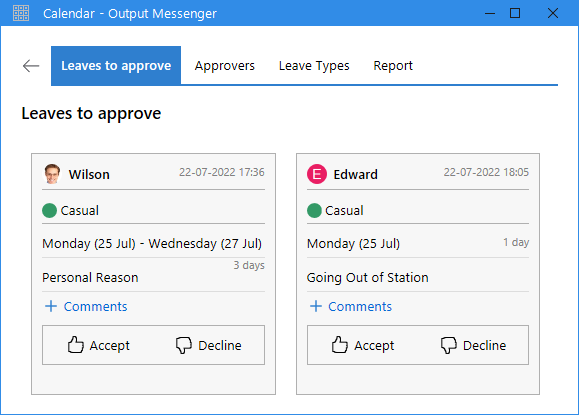
Leaves to Approve
Here you can find the list of all leave/time off requests made by your employees. In a single click, you can view & approve/reject the leave requests.
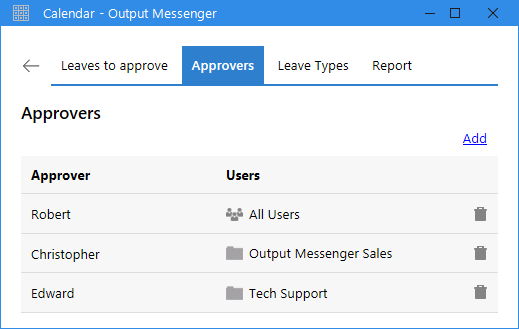
Approvers
Administrator & department managers or any users can be added as approvers. You can view the list of approvers here. Administrator can add/remove approvers from here at any time.
Note: Normal user acting as approver can only view the “Leaves to approve” session. He cannot view/edit other sessions in Leave Management.
Leave Types
In this session, you can set the type of leaves like “Casual”, “Sick”, “Vacation”, etc. This will display in the “Leave/Time Off” Request form for employees.
Report
Here, you can find the Leave Report. You can filter the reports based on date, leave type, leave duration, departments & view.
Administrator/Manager ‘s Leave Settings – Work time & Holidays
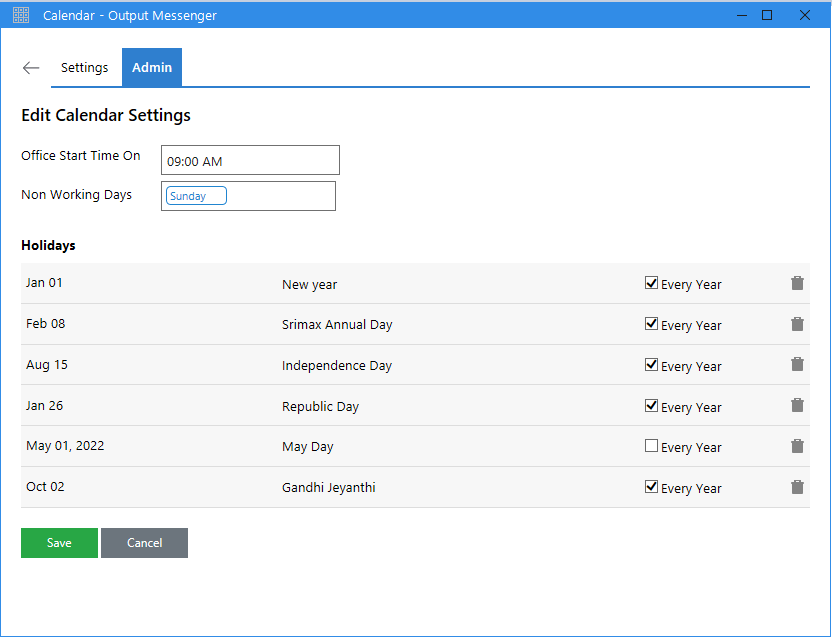
In Month View, administrator or manager can click on the Settings icon. Under Settings, move to the Admin tab. You can add your office start time, non-working days & Holidays there.
Request Leave/Time Off
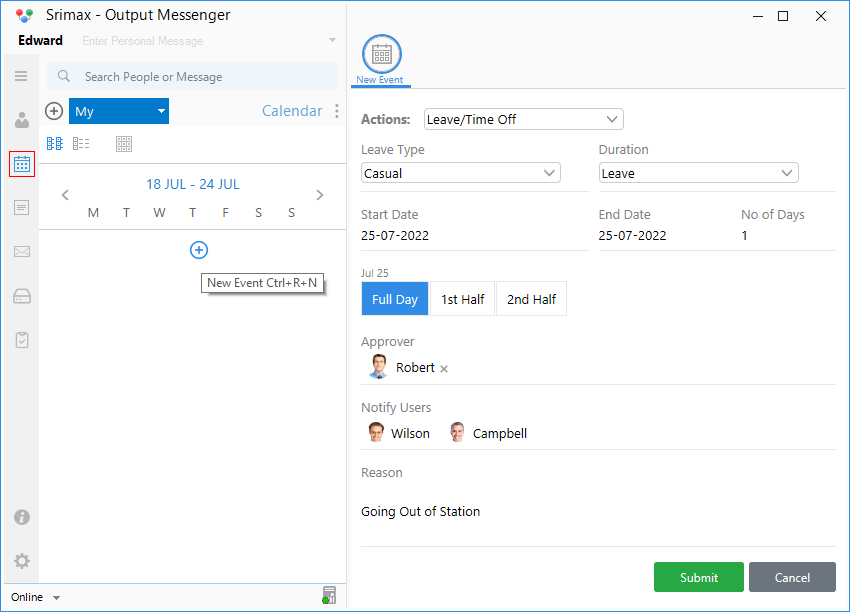
Open Calendar by clicking on the Calendar icon present at the left panel or press Ctrl+R.Choose Day/Week/Monthly view.
- Click on the “Add” icon or right click & choose “New Event” or press Ctrl+R+N
- Choose “Leave/Time Off” from the Actions drop down & Choose your leave type – Casual or Sick
- Choose Duration – Leave or Time Off
- Set start date & end date. Number of days will be calculated automatically. Choose leave on 1st half or 2nd half of the day.
- Approver will automatically be your administrator or manager.
- You can add users to whom you want to notify your leave once it is approved.
- Specify the reason for the leave & submit your leave form.
Once you submit your leave request, it will be added in your Calendar.
Leave Request Notification to Approvers
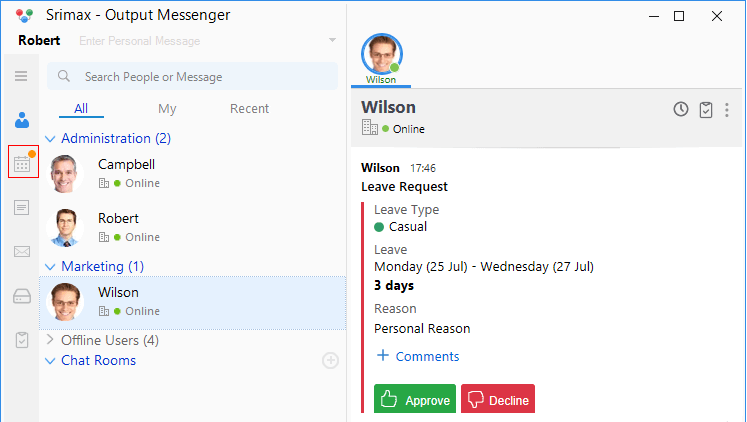
Approver will get the leave notification in his login near the Calendar icon. And he can approve/decline your request from your chat window itself.
Leave Notification to Users
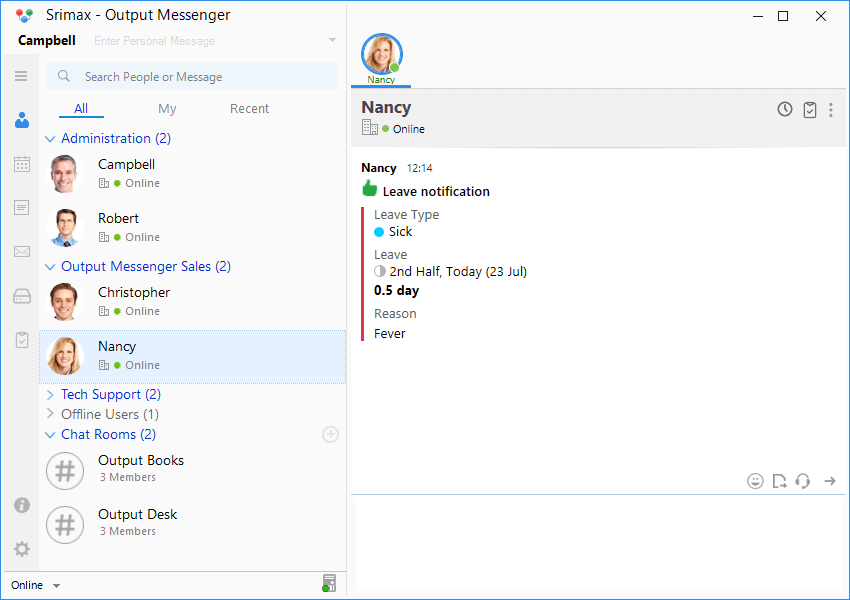
If you have added users to whom you want to notify your leave in leave form, leave will be notified to them once it is approved.
Leave Notification in User Lists
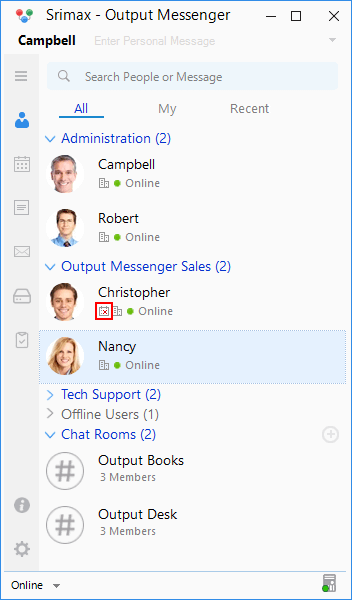
All users can view the user who is/will be on leave from Users list itself with the Leave icon present near the username of the users.
Leave Notification in User Chat Window
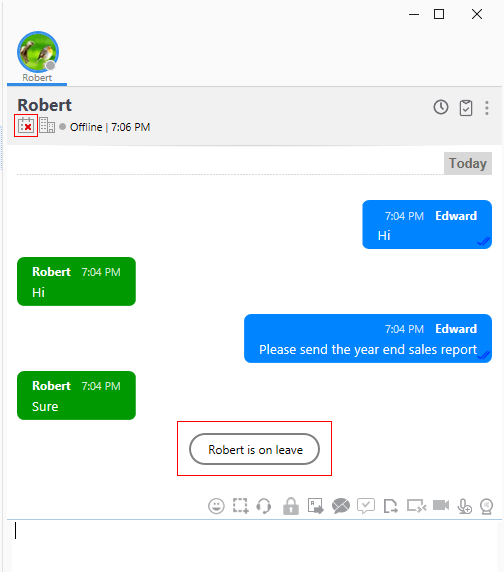
When a user is on leave & you open his chat window to message, you will get the notification that he/she is on leave.
Cancel Leave/Time Off Request
You can cancel your leave or time off request even after your approval. Open Calendar, locate your leave, click on it to view details. Click Cancel Request.
Self Declaration
If there is no approval for a user, then the user can self approve his leave/time off request.
